Planner Step Three: Customizing Service Elements
Step Three is the heart of the planning process, where you truly make the plan “your own.” As such, this riteplanning.com page is rich in functionality, and taking the time to learn everything it can do is well worth the effort. We’ve divided it into four help pages. This one shows you how to customize individual service elements. The others show you tools that affect your plan as a whole, and how to add new elements to your plan.
Individual service elements can be manipulated in many different ways, from changing their titles, to selecting which words or songs to slot into place, to deleting them altogether. Every time you make a change, the green flash is your signal that it’s been saved and is now part of your plan.

When your cursor is in the “territory” of a service element, the background turns gray. This visual cue is designed to help you move efficiently through the collection of service elements as you plan.
Element Title
![]()
![]()
![]()
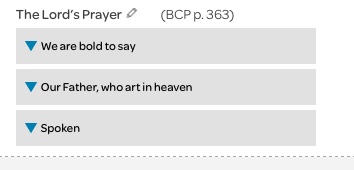
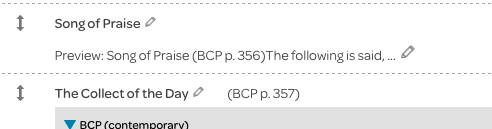
As with the plan’s title, you can change the title of a service element by clicking the pencil icon next to it. Be sure to click the checkmark to save the new title.
Element Position
![]()
You can move a service element to another spot in your plan by using the “handle” to the left of the element title.

Move your cursor to the handle, at which point the normal cursor will change to a vertical arrow. As you click and hold, drag the element through the plan. The background will turn yellow at the location where the element will appear when you release the click.

Preview
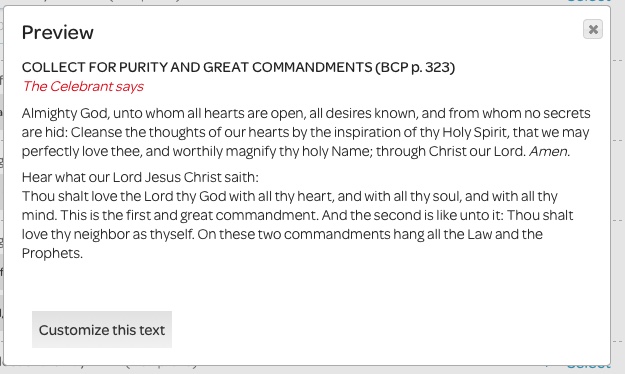
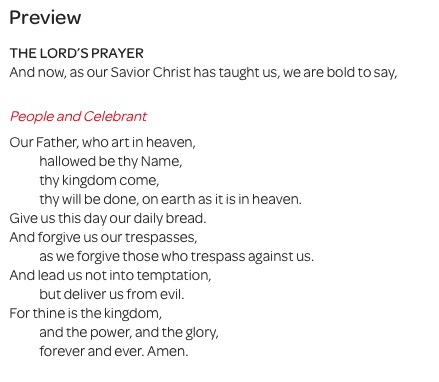
Click the magnifying glass icon on the right side of any element to see how the element will appear in your download (with the exception of music graphics, that is; see Step Five for details).
Previewing elements is especially useful in cases where you make several changes, helping to ensure that you get them just right.
Content Options
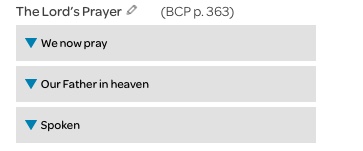
Many elements offer choices of which content to use. These choices are indicated by drop down menus.
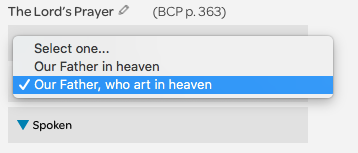
Click a drop down menu to see short excerpts of its content options.

The preview function comes in handy when you want to see the full text of the available options. Simply change the chooser to read “Select one…” and all available options will be shown in preview or will be included in your download.
When you’ve made your choices, they will be reflected in the drop down menus.
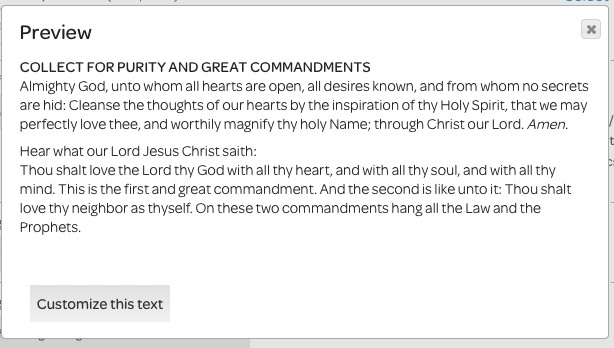
Your content choices are also shown when you preview the element: only the options you picked are shown.
Customizing worship texts
At the bottom of the Preview pane for any worship text element you’ll find a “Customize this text” button. (If you’ve chosen to sing any portion of this text the button will not appear.) This button allows you to edit this text on-screen to suit your local purpose.
When you click the “Customize this text” button you’ll be asked to confirm that this is what you want to do.
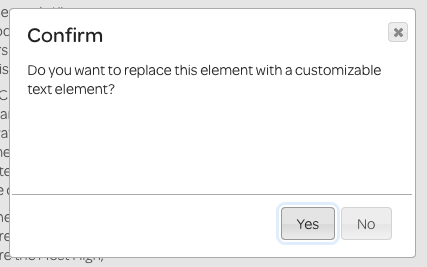
If you say “Yes,” this element changes from a configurable RitePlanning worship element to a Custom Text element. The next pane allows you to edit and format the text as you wish:
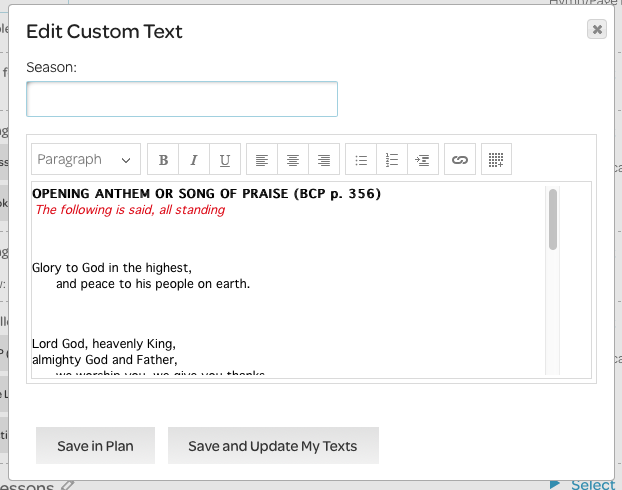
At the bottom of this pane you’ll find two buttons. “Save in Plan” saves your customized text only in the worship plan you’re working on. “Save and Update My Texts” not only saves your customized text in this worship plan, it also saves it to your own library of Custom Worship Texts. Choosing this second option will allow you to re-use your customized version in other worship plans.
After you’ve saved your changes this element appears as a Custom Worship Text. To edit further, simply click the pencil icon next to the beginning of your custom text (after the ellipses).
Reading Options (alternate/semicontinuous/your own)
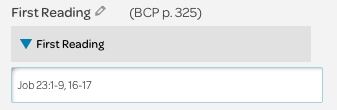
The biblical readings are pre-filled with the primary RCL texts, using the translation specified in the My Account area. You can use the magnifying glass icon to preview the full text.

When they’re available, semicontinuous and alternate options are offered.
You always have the choice of using any biblical passage. To exercise this option, select “Your own” from the drop down menu and enter a citation. The NRSV Bible tool will put the corresponding text in your plan.
Because the RCL readings are fixed passages, they’re not “looked up” with the NRSV Bible tool, and we’re able to format them in a way that closely resembles printed text. Only basic formatting is possible in the NRSV Bible tool; you can, of course, refine this formatting in your downloaded file.
Hymn/Song Selection
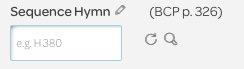
Several music elements include a box for entering a hymn number.

If you already know which song you want to use, enter the number (don’t forget the hymnal abbreviation) and click outside the box. After a moment, the element will flash green and display the song title, along with a list of associated files that are available for download.
The circular arrow icon refreshes the hymn/song information, in the event you change from one song to another. This information should be automatically updated by riteplanning.com, so you shouldn’t need to click this icon. It’s there just in case the automatic refresh doesn’t happen.
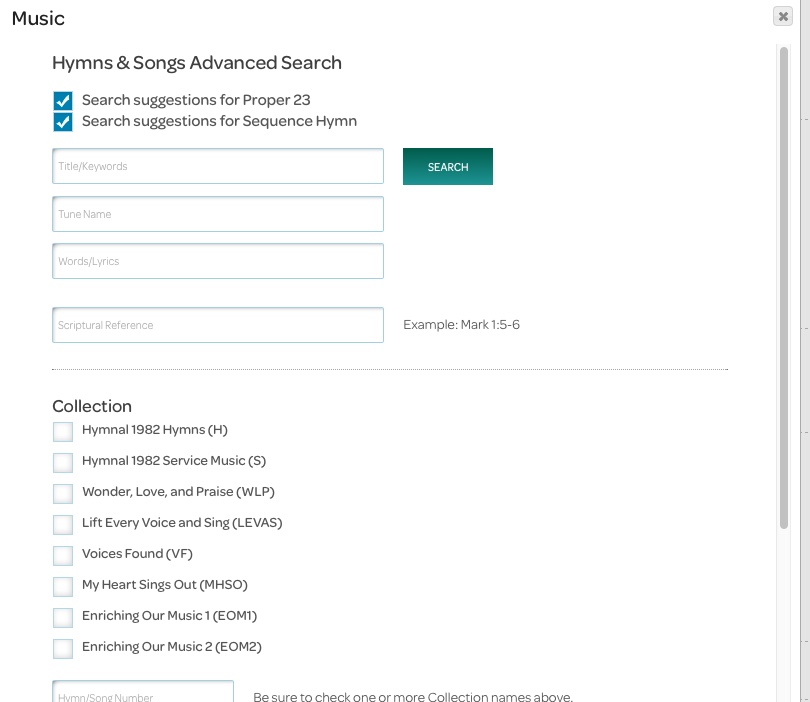
If you’d like to search for a song, click the magnifying glass icon near the hymn number box (not the one on the far right of the element!). The Advanced Search from the Music page will appear in a pop up window, with a box for the lectionary event you’re planning pre-checked at the top of the window. This box confines the search to hymns and songs specifically recommended for that lectionary event. Also pre-checked is a box to confine your search to just hymns suitable to that placement in the service (Entrance Hymn, Communion Hymn, etc.). Add any other search criteria you’d like (you can also uncheck pre-checked boxes) and click the “Search” button.

You can explore the search results just as you do on the Music page. When you find the one you want to use, click the “Select” button next to it, and its information will appear in the element, replacing any that was there earlier.
Portion to Download
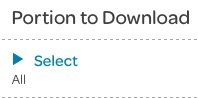
By default, your download will include every part of every service element. In the My Account area, you can set which parts of each element type (section header, text, hymn / service music, and scripture) get downloaded.
With all element types, the Title is the title of the service element. Music elements will include hymn titles (for example, “O God, Our Help in Ages Past”) with the service element title (such as Entrance Hymn).
Rubrics are short instructions in red italic type.
Descriptions of the other element parts you can download are given below.
Section Headers

For each section header (Word of God, The Holy Eucharist) the content is simply the title, as a section marker in the service — as found in the BCP or other source volume.
Text Elements
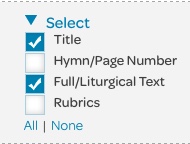
For text elements, the Hymn/Page Number is the page number, if any, where the element starts. In cases where you pick an option from a drop down menu, the page number you download may be different than the page number of the option you choose, so you may need to change it if you’re planning on printing it in your bulletin.
Generally, the Full/Liturgical Text is text spoken by a priest and/or the congregation.
Music Elements
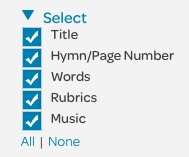
For music elements, the Hymn/Page Number is the hymnal abbreviation and hymn number (H 475, WLP 736, etc.).
The Full/Liturgical Text is any text that accompanies the element. Lyrics from liturgical music (kyrie, canticle of praise, etc.) are included if you’re using a piece that comes directly from a base liturgy.
The Music checkbox indicates that the music graphic files should be included with your download. These files are available only with a Deluxe subscription to riteplanning.com. You can upgrade your subscription here.
Scripture Elements
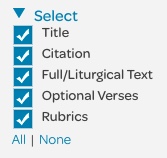
The Citation is the biblical citation for the reading text.
The Full/Liturgical Text is the NRSV translation of the reading text, except for Psalms. If you use the lectionary citation for a Psalm the text is from the BCP translation. If you alter the citation, the text will come from the NRSV.
Optional Verses are enclosed by square brackets in a citation—as in Isaiah 58:1-9a [9b-12], from Epiphany 5 A—and, at your discretion, may or may not be used in a service. If you don’t want to use them, make sure the Optional Verses box is unchecked, and they won’t be included in your download.
The Introduction is a brief summary of the reading.
You can adjust Portion to Download settings on an element-by-element basis; for example, you may want to download the melody file for the Entrance Hymn, but the harmony file for the Sequence Hymn. Click the blue triangle in the Portion to Download column of the element you’re working with, and adjust the checkmarks. Click the magnifying glass icon on the right to preview your changes and make sure you’ll download just what you need.
![]()
Click the “Reset Portion to Download” link at the bottom of the page to set all Portion to Download checkboxes to what is indicated in the My Account area.
Click the “Personal Settings” link to go to the My Account area and change your global Portion to Download settings.
Cut Element
![]()
To remove an element from a plan, click the “circle-slash” icon next to it. The element will disappear, but will also be placed on your clipboard, in case you decide to put it back. It will be in your clipboard only as long as you’re logged in, however; as soon as you log out, your clipboard is emptied.
Planner Step Three: The Plan as a Whole
Planner Step Three: Adding New Elements
Next: Planner Step Four: Review and Download Files