Planner Step Three: Adding New Elements
Step Three is the heart of the planning process, where you truly make the plan “your own.” As such, this riteplanning.com page is rich in functionality, and taking the time to learn everything it can do is well worth the effort. We’ve divided it into four help pages. This one shows you how to add new elements to your plan. The others show you tools that affect your plan as a whole, how to customize individual service elements, and how to edit your plan on riteplanning.com.
When you want to add a new service element to your plan, click the arrow icon.
![]()
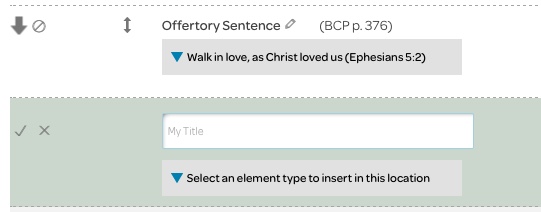
When you click the arrow, a new element appears beneath the element whose arrow you clicked (the arrow now points downward). The background of the new element is green.
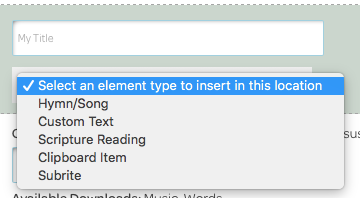
Click the drop down menu to select what type of element you’re inserting. There are five types of element to choose from.
Hymn/Song
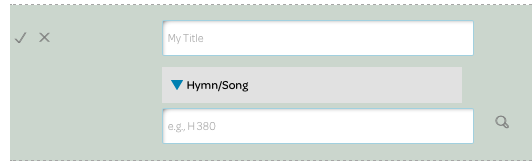
This choice produces a field for a hymn number and a magnifying glass icon that opens the Advanced Search from the Music page. See the notes on Hymn/Song Selection for further help.
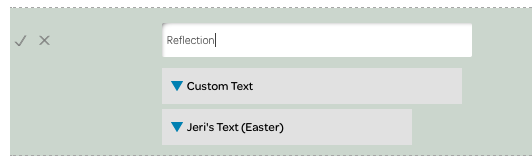
Custom Text
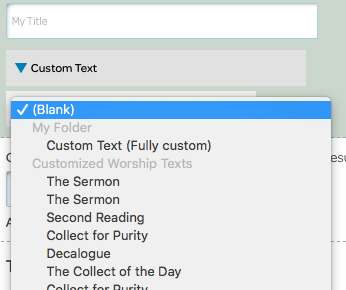
When you choose this type, a drop down menu will appear, containing the titles of all the Custom Texts in your collection on the Home page, following the order you established there. Select the one you want to add to your plan.

After you add a Custom Text to a plan, you can make changes to the copy in your plan without changing the copy in your collection. Click the pencil icon at the end of the Preview line.
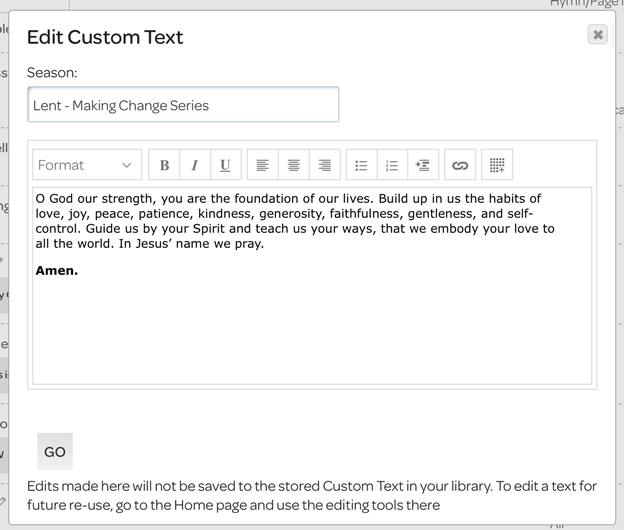
Make the changes you want and click the “Go” button. As the note at the bottom of the editing window states, the changes you make here will not affect the copy of the Custom Text that is in your collection on the Home page.

With this idea, you can create a one-time-use Custom Text in a plan. Add a new Custom Text element to your plan, but don’t pick one from the drop down menu showing your Home page collection. Click the checkmark to save the new element. When you click the pencil icon at the end of the Preview line, the content box will be empty. Add the content you want and click the “Go” button. Because this Custom Text is created in the plan, it won’t appear in your Home page collection.
Scripture Reading
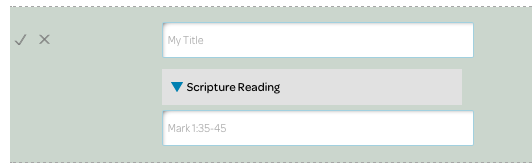
With this choice, a box for a scripture citation appears. When you’ve entered the citation and saved the new element to your plan, a magnifying glass icon will appear so that you can preview the text. If it turns out not to be quite the text you need, you can change the citation.
Clipboard Item
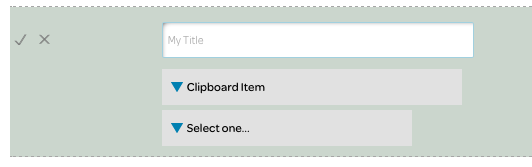
Content in your clipboard can include service elements you’ve cut and items you’ve copied from the Library and Music pages. Adding this element type produces a drop down menu containing all such content pieces. Pick the one you want, and it’ll be part of your plan. Remember that the clipboard is only for temporary storage; when you log out, your clipboard will be emptied.
Save the New Element!
Finally, add a title to your new element and click the checkmark on the left. Clicking the checkmark is a must! If you don’t do this, your new element will not be added to your plan, and if you go to another page and come back, the new element will have disappeared.
If you decide you need to start inserting a new element from the beginning, or don’t need the new element after all, click the X.

After clicking the checkmark, your new element will be saved to your plan and will appear like all of the other elements.
Planner Step Three: The Plan as a Whole
Planner Step Three: Customizing Service Elements
Next: Planner Step Four: Review and Download Files