Templates
Templates are service “blueprints” that allow you to quickly create worship plans by updating only the content that changes from one event to the next. You can create a template for each service on your schedule—for example, one for your early service and one for your late service—so that each has the worship elements, sequence, texts, and format you’re used to for that service. You can create templates for special services, too, such as weddings, funerals, and seasonal rites. There’s no limit to the number of templates you can create.
Create a Template
Starting in the Planner Calendar and using any date, create a worship plan. Moving from Step “Zero” through Step Three, choose the basic service type and base liturgy, the liturgy options, and customize the plan. You may want to move to Step Four to preview your plan, but there’s no need to download it as far as creating a template is concerned; if you do preview your plan, click the “Make Changes” button to go back to Step Three when you’re done.
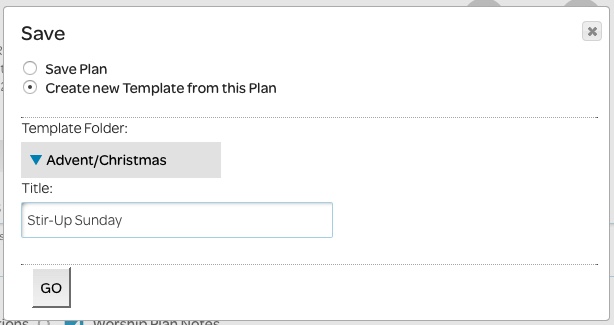
When your plan is ready, click the “Save” button in Step Three and choose “Create new Template from this Plan” in the resulting dialogue box. Give the new template a title and pick which folder you’d like to keep it in. Now this template will be waiting for you whenever you log in to riteplanning.com.
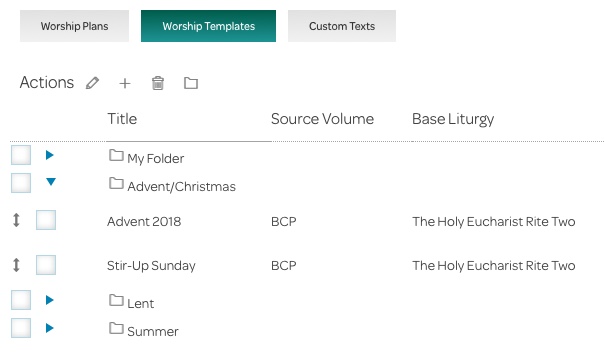
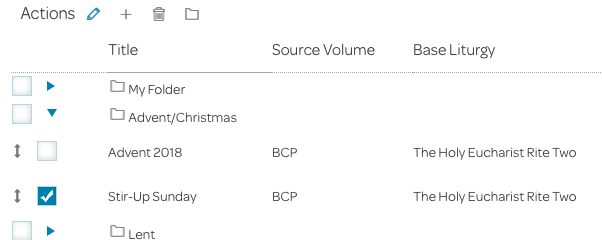
To find your template later, go to the Home page and click the “Worship Templates” tab at the bottom of the page. The template will be in the folder you selected. You can change the position of a template within a folder, or move it to a different folder, by moving your cursor to the vertical, two-headed arrow “handle,” at which point the cursor will change to match this shape. As you click and hold, drag the template through the list. The background will turn yellow at the location where the template will appear when you release the click. (Note that only templates can be moved. The folders that contain them have to stay where they are.)
Create a Plan from a Template
You can start creating a worship plan from a template by choosing either the template or the date first.
Template First, Date Second
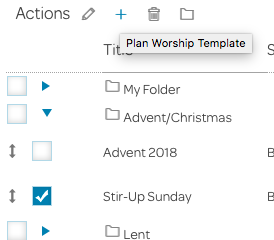
To begin with the template, check the box next to it on the Home page. This will activate the pencil, plus sign, and trash can icons in the Actions row above the list. Click the plus sign. (If you hover your cursor over an active icon, it will turn blue and display a tool tip; the tool tip for the plus sign icon is “Plan Worship Template.” If the icon is inactive, it will remain gray and no tool tip will appear.)
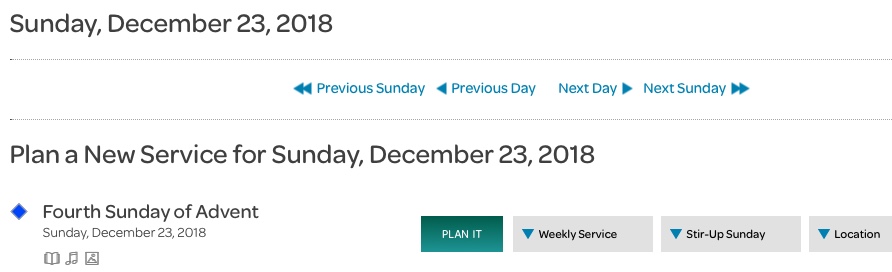
You will go to the Month View of the Planner Calendar, where you will pick the date for your plan. You will then go to the Day View, where you will choose a basic service type. The name of your template will be in the “Template” drop down menu. Pick items from the “Weekly Service” and/or “Location” drop down menus if you wish, and click the appropriate “Plan It” button.
Since the template uses a particular base liturgy, you don’t need to choose one and will go straight to Step Two in the planning process. Your plan is now separate from the template, so you can make changes to it without affecting the template.
Date First, Template Second
To begin with the date, simply pick it from the Large Calendar. When you choose a basic service type, pick the template you’d like to use from the Template drop down menu. As in the case of picking the template before the date, the template uses a particular base liturgy. Thus, you don’t need to choose one and will go straight to Step Three in the planning process. Your plan is now separate from the template, so you can make changes to it without affecting the template.
Edit a Template
If you need to make changes to a template you’ve previously saved, find the template on the Home page, check the box next to it, and click the pencil icon.
Template Edit Mode is a special version of Step Three in the planning process. While you can make many of the same changes to a template that you can to a plan, there are some important differences. For instance, it’s not possible to select songs from hymnals when editing a template (see the Entrance Hymn element below). Also note that all lectionary-driven content is suppressed, because the lectionary content isn’t stored in the template; it comes in when you choose a date.
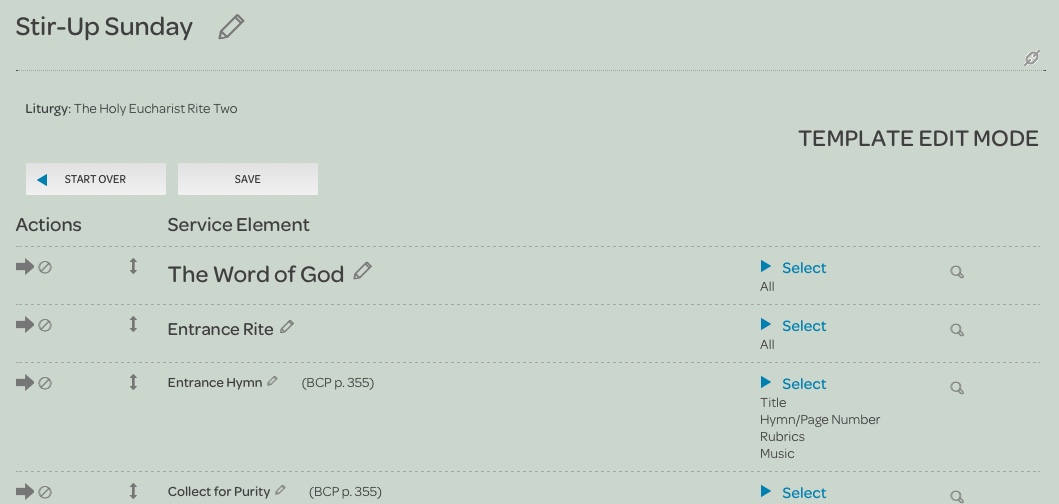
Clicking the “Start Over” button will take you to the view of the Planner Calendar that’s set in the My Account area.
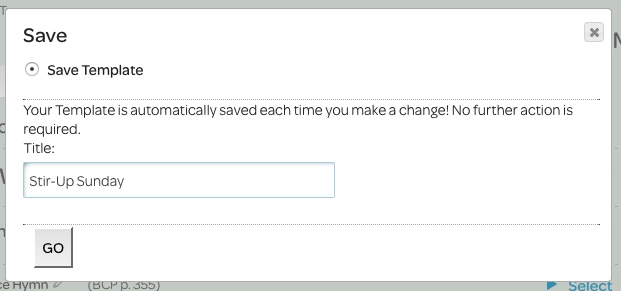
Changes you make to your template are saved automatically, so it likely won’t be necessary for you to click the “Save” button. If you do use it, it provides a way to change the template’s title.
Delete a Template
To remove a template entirely, find it on the Home page, check the box next to it, and click the trash can icon. You will be asked to verify that you really want to delete the template. Any plans based on the template will remain in place, because once a plan is saved, it is permanently separated from any template it may be based upon.
